Getting your property ready for a photography shoot doesn't require a complete makeover. A few simple steps can make a dramatic difference to how your home looks in photos — and ultimately, how many buyers click through to book a viewing.
As a property photographer who's shot hundreds of homes across Somerset, Bristol, and Bath, here's my practical guide to preparing your property for the best possible results.
The Day Before
Declutter every room. This is the single most important thing you can do. Remove excess items from worktops, shelves, and tables. The goal isn't to make the house look unlived-in, but to create clean, uncluttered surfaces that photograph well. Pay particular attention to kitchen worktops, bathroom surfaces, and bedside tables.
Clean windows inside and out. Natural light is crucial for property photography, and dirty windows can make rooms look dull and uninviting. Clean glass lets the light flood in and makes exterior shots look crisp.
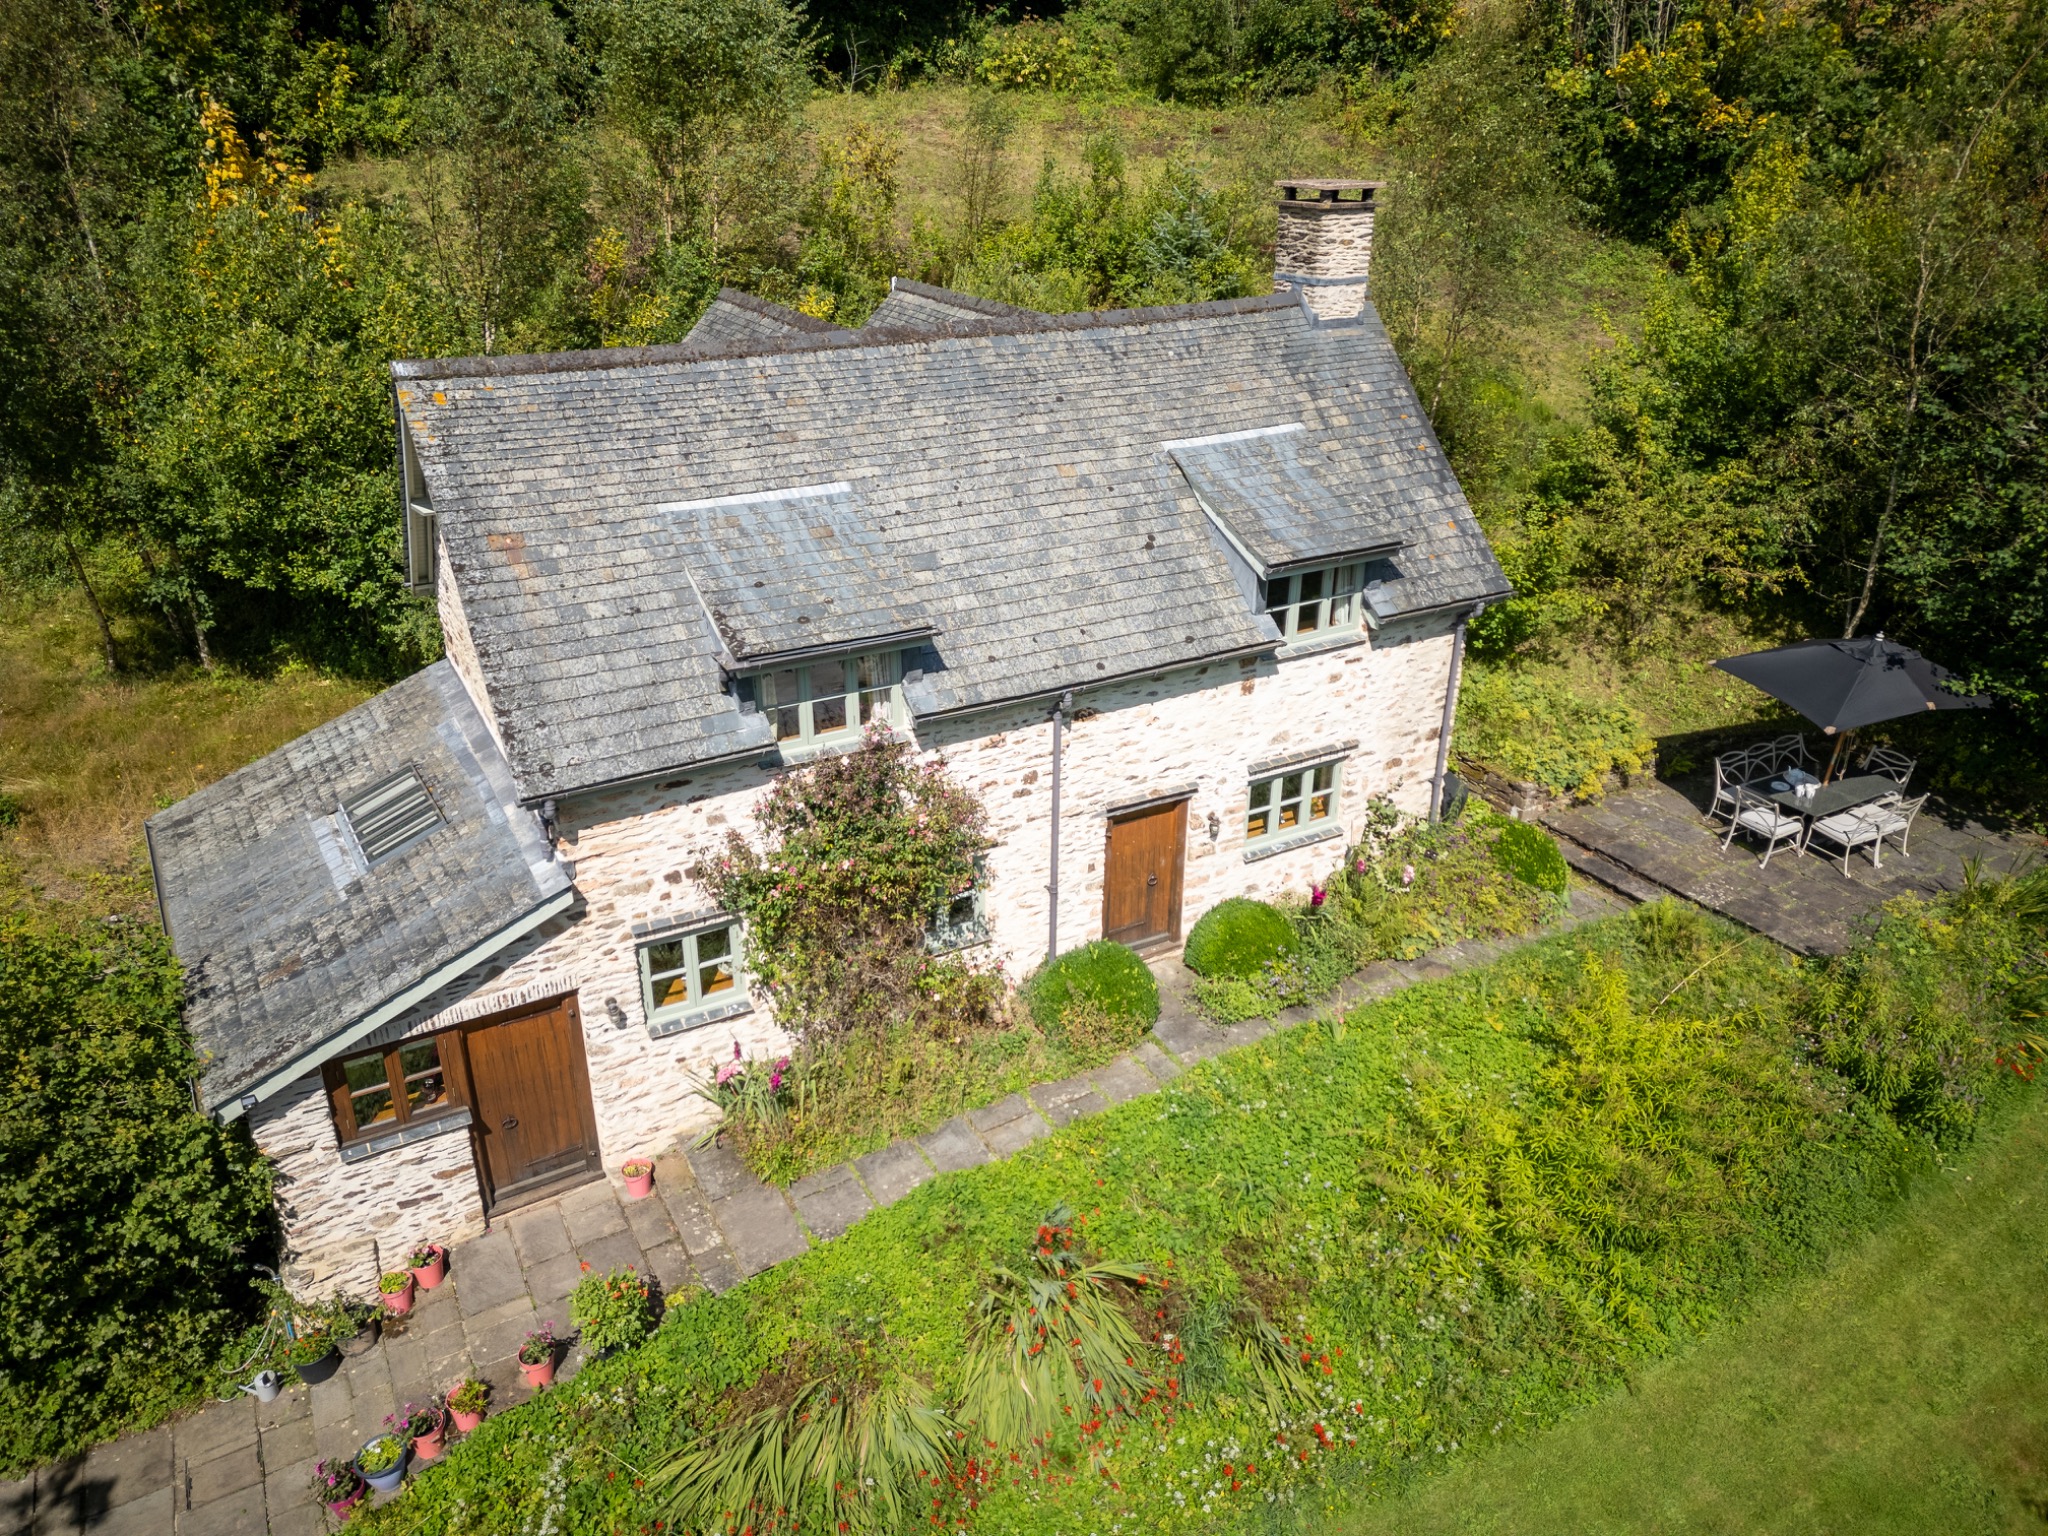
Mow the lawn and tidy the garden. First impressions start outside. A freshly mowed lawn, trimmed hedges, and tidy borders make an enormous difference to exterior and drone shots. Move bins, garden tools, and children's toys out of sight.
Remove personal items. Family photos, children's artwork on the fridge, and personal toiletries can make it harder for buyers to imagine themselves in the space. Tuck these away for the shoot.
The Morning of the Shoot
Open all curtains and blinds. Let as much natural light in as possible. Even if I'll be using professional lighting techniques, natural light creates the warm, welcoming feel that buyers respond to.
Turn on all lights. Every lamp, ceiling light, and under-cabinet light should be switched on. This creates warmth and ensures there are no dark corners in the photos.
Make all beds. Crisp, well-made beds with plumped pillows instantly make bedrooms look inviting. If you have decorative cushions or throws, now's the time to use them.
Clear the driveway. Move cars off the drive if possible, especially for exterior and drone shots. A clear driveway makes the property look more spacious and welcoming.
Hide bins and recycling. Move wheelie bins, recycling boxes, and any rubbish out of sight. These are the first things that catch the eye in exterior photos.
Room-by-Room Tips
Kitchen: Clear worktops completely except for one or two styled items (a fruit bowl, a coffee machine, a plant). Wipe down all surfaces and make sure the sink is empty and clean.
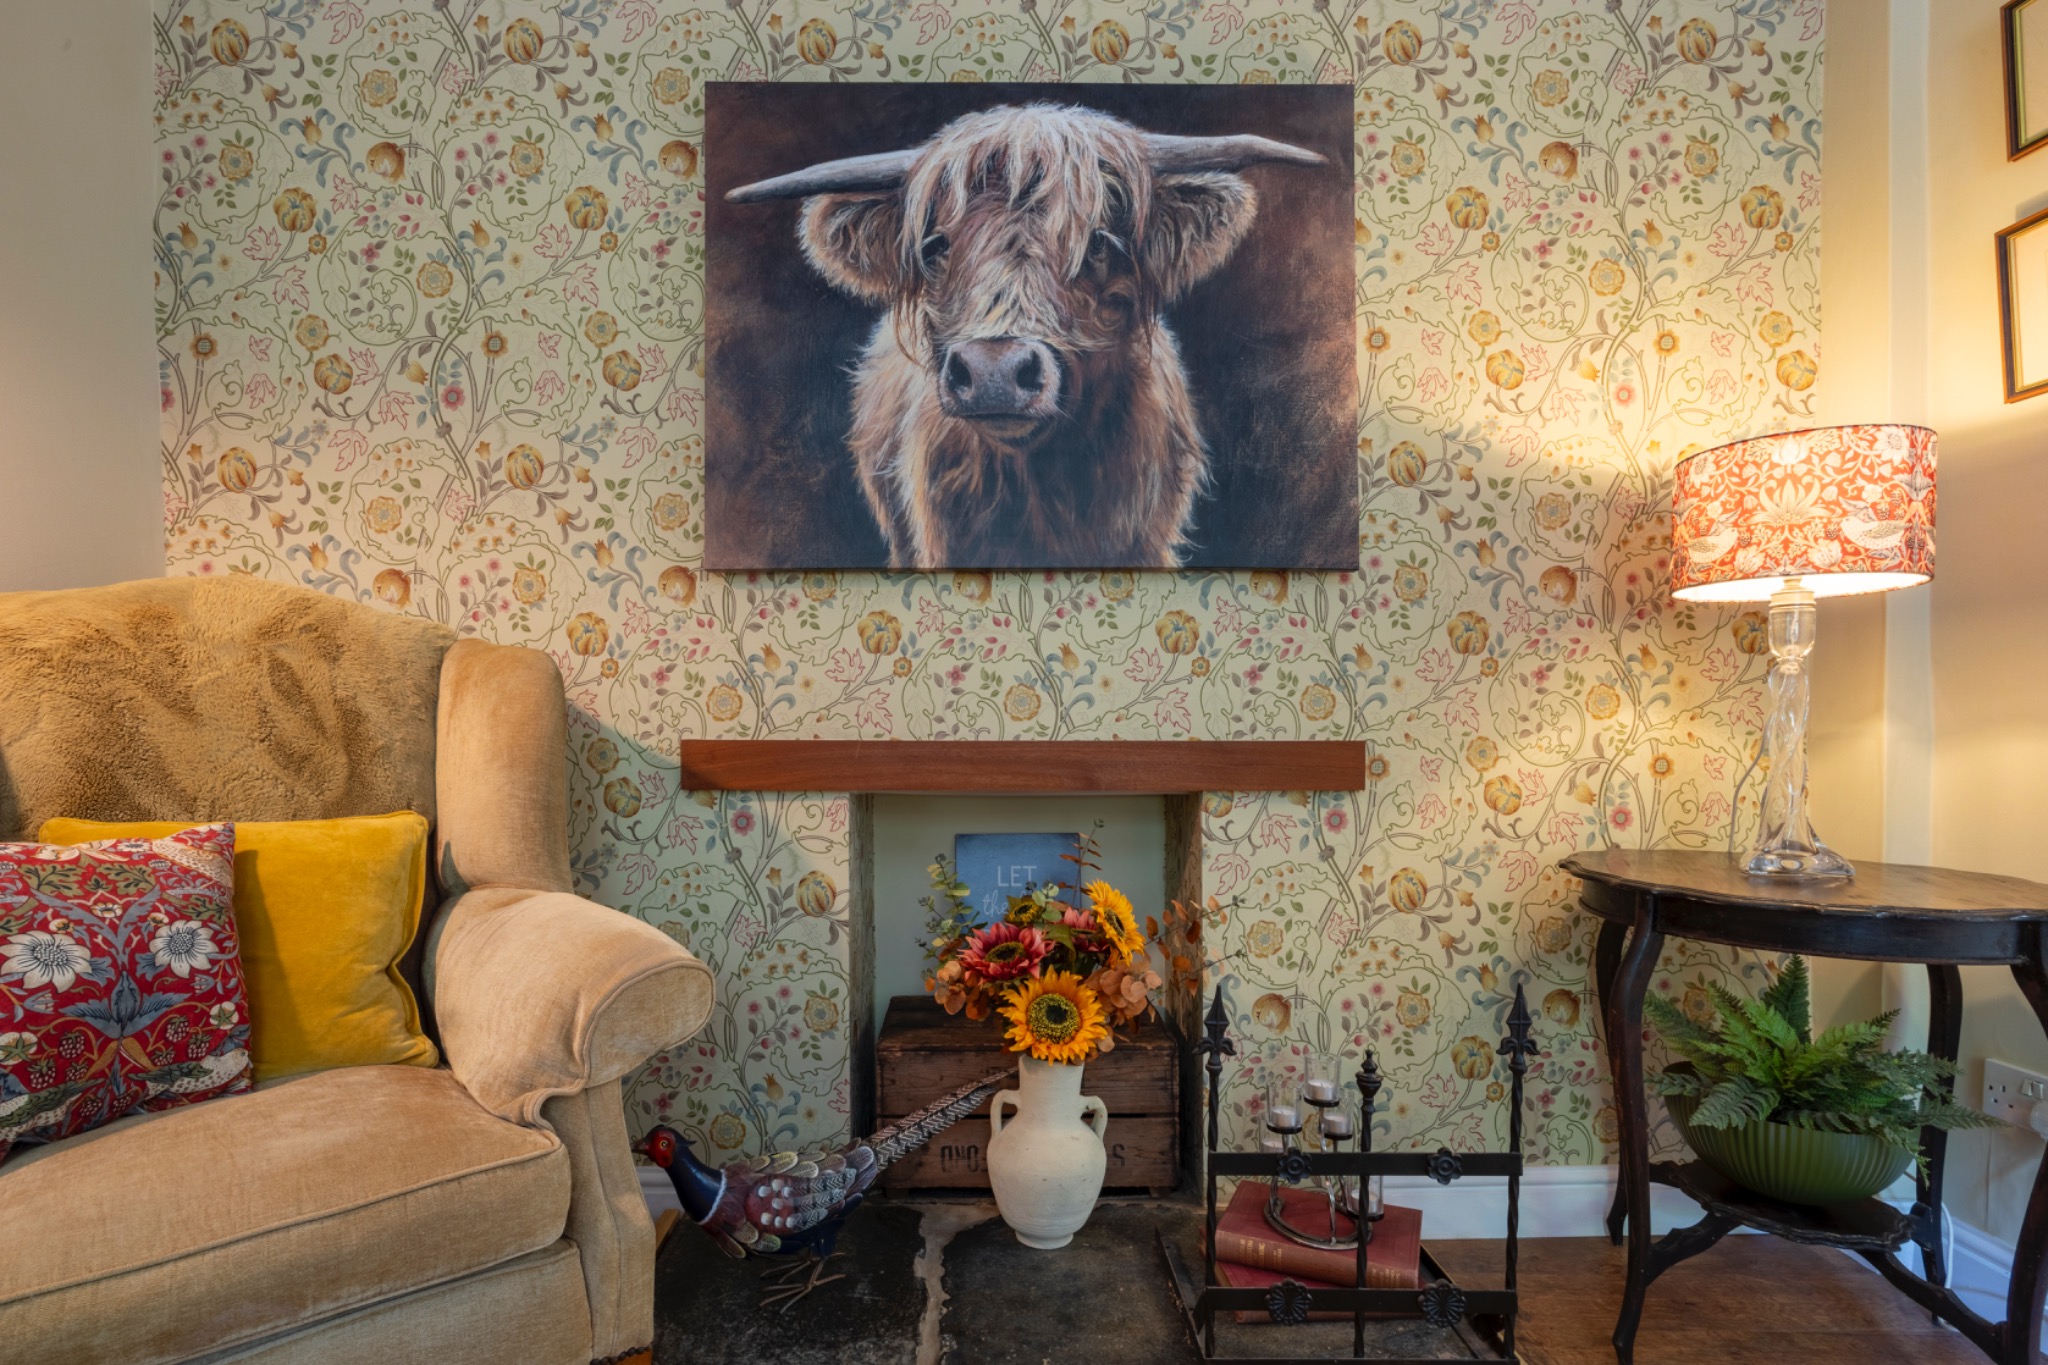
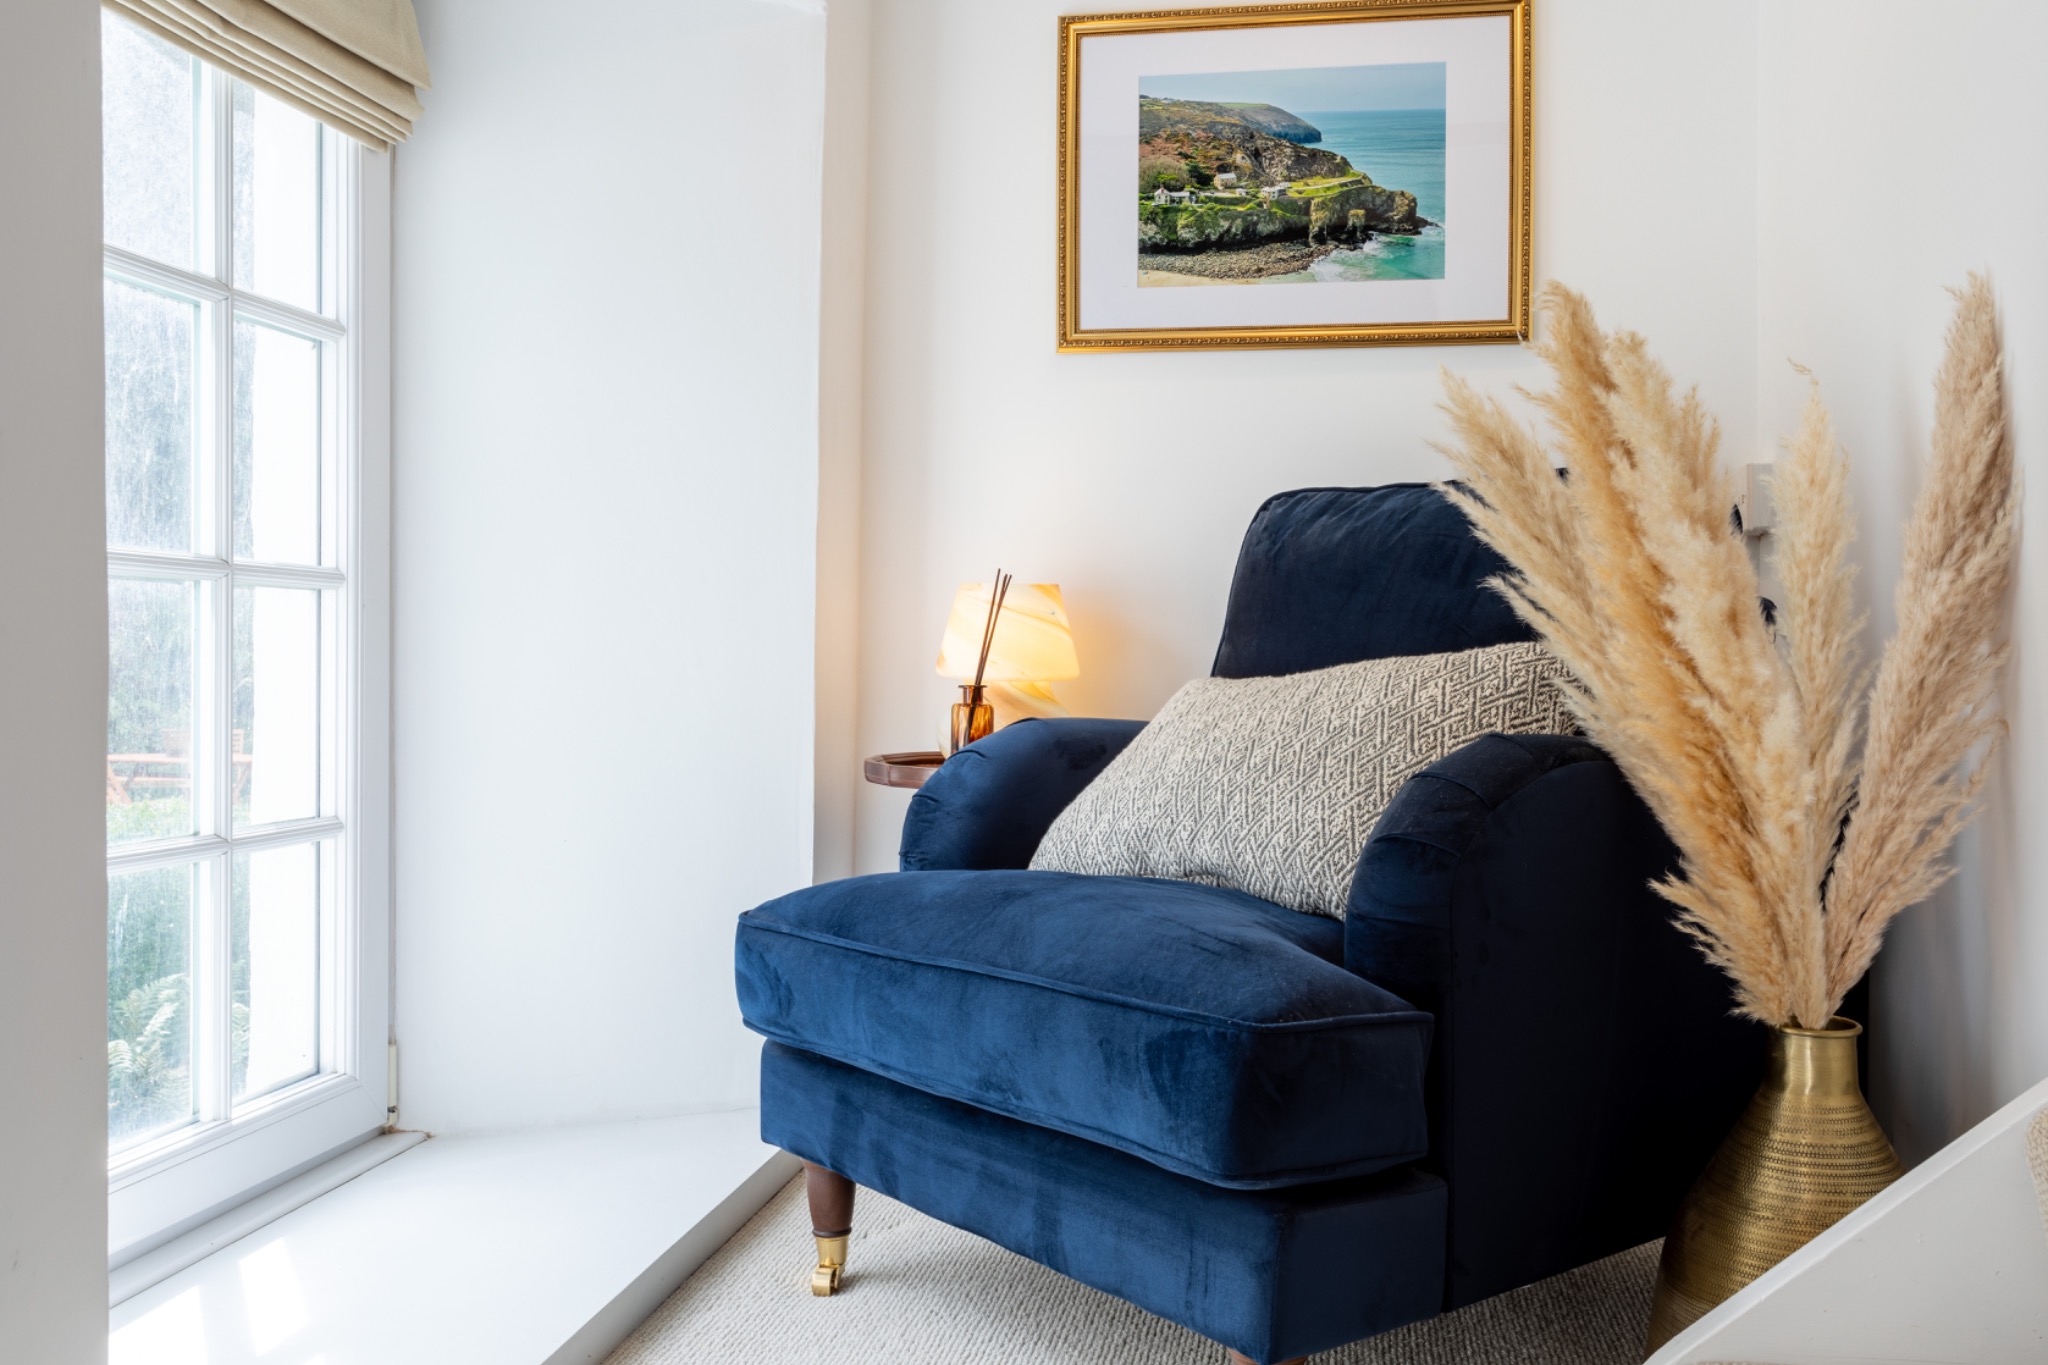
Living room: Plump cushions, fold throws neatly, and remove any clutter from coffee tables. A few well-chosen accessories — a candle, a book, a small plant — add warmth without clutter.
Bathroom: Remove all personal toiletries, hang fresh towels, and make sure everything is spotless. A clean, minimal bathroom photographs beautifully.
Bedrooms: Fresh bedding makes a huge difference. Remove clothes from chairs, clear bedside tables, and ensure wardrobes are closed.
Garden: In addition to mowing and tidying, consider adding a few finishing touches — outdoor cushions on garden furniture, a potted plant by the door, or a neatly set table can make the garden feel like an extension of the living space.
What Not to Worry About
Don't stress about minor imperfections. Small marks on walls, slightly worn carpets, or dated fixtures are things that professional editing and careful composition can minimise. Focus your energy on cleanliness and decluttering — these make the biggest visual impact.
Also, don't worry about the weather. While sunshine is lovely, I shoot in all conditions and can replace overcast skies with blue ones in post-production. The interior shots — which are often the most important — aren't affected by the weather at all.
On the Day
When I arrive, I'll do a quick walk-through with you to identify anything that might need adjusting. I might move a piece of furniture slightly, adjust a lamp, or suggest tucking something out of frame. This is all part of the service — my goal is to make your property look its absolute best.
The whole shoot typically takes between 45 minutes and 2 hours depending on the property's size, and you'll have your fully edited photos back within 24 hours.
A little preparation goes a long way. Follow these steps and you'll be amazed at the difference it makes to your listing photos.